Brimstone is a super narrow slot canyon in the Utah desert. So narrow that once you go in, eventually you’ll have to turn around and go back as there’s no way to get out the other side. Brimstone Gulch is a great add-on to hiking Peek-a-boo and Spooky Gulches as it’s just a mile away in the same area. I wouldn’t necessarily suggest coming here just for this one hike, but if you hit all three, then it’s totally worth it!
Trail Overview
- Distance: 6mi+ round trip (including both)
- Type: Out/Back or Modified loop
- Time: 4-6 hours
- Elevation at trailhead: 4910 feet
- Elevation Change: -200 ft
- Difficulty: Moderate- Difficult
- Crowd Factor: Low
- Best Time: March-May, Sept-Nov
- Permits/Fees: No
- Water: No
Highlights
|
Lowlights
|
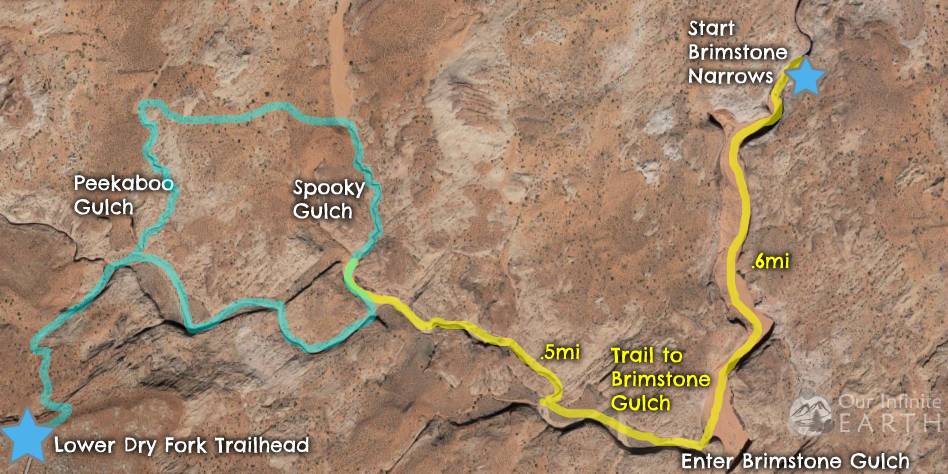
Map
The trailhead
Lower Dry Fork Trailhead is the preferred trailhead for this hike. While you could also get there via the Upper Dry Fork Trailhead, this is not idea as it just adds distance onto an already pretty long hike. The trailhead is 26 miles down Hole-In-The-Rock Road off of a short turn off on the left.
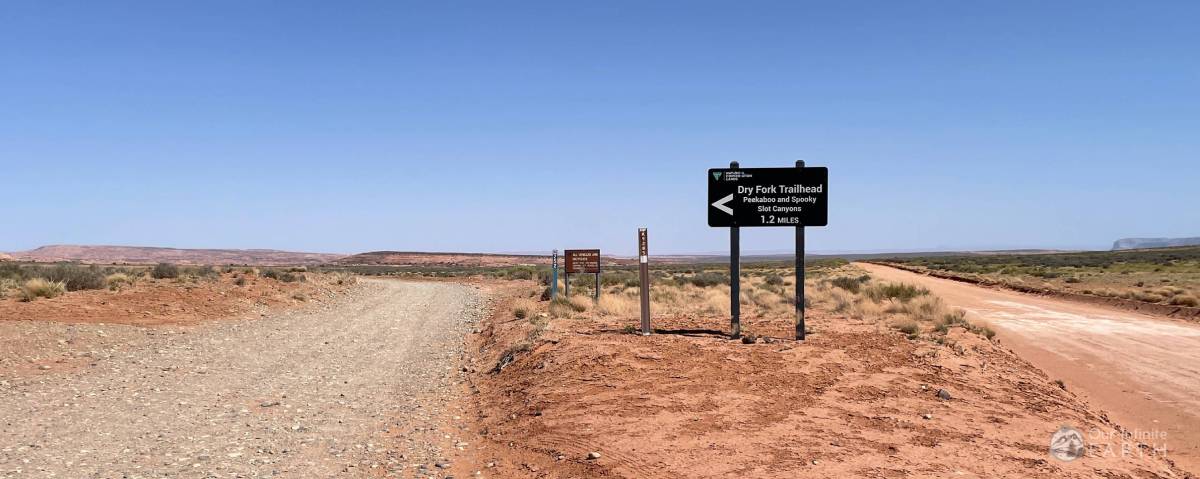
It’s clearly marked how to get to Lower Dry Fork Trailhead.
There’s a large parking lot at the trailhead with pit toilettes.
This also the main parking lot for Peekaboo and Spooky Gulches and there will be lots of signage for that hike here.
What to expect along the trail
This trail can get HOT as it’s very exposed with little to no shade and no available water. Make sure to bring more water than you think you need.
I’d very highly suggest visiting Peekaboo and Spooky Gulches as part of this hike – you’re literally gonna walk right past them!
Follow this guide for hiking to Peekaboo and Spooky, which also covers the beginning portion of the trail to Brimstone.
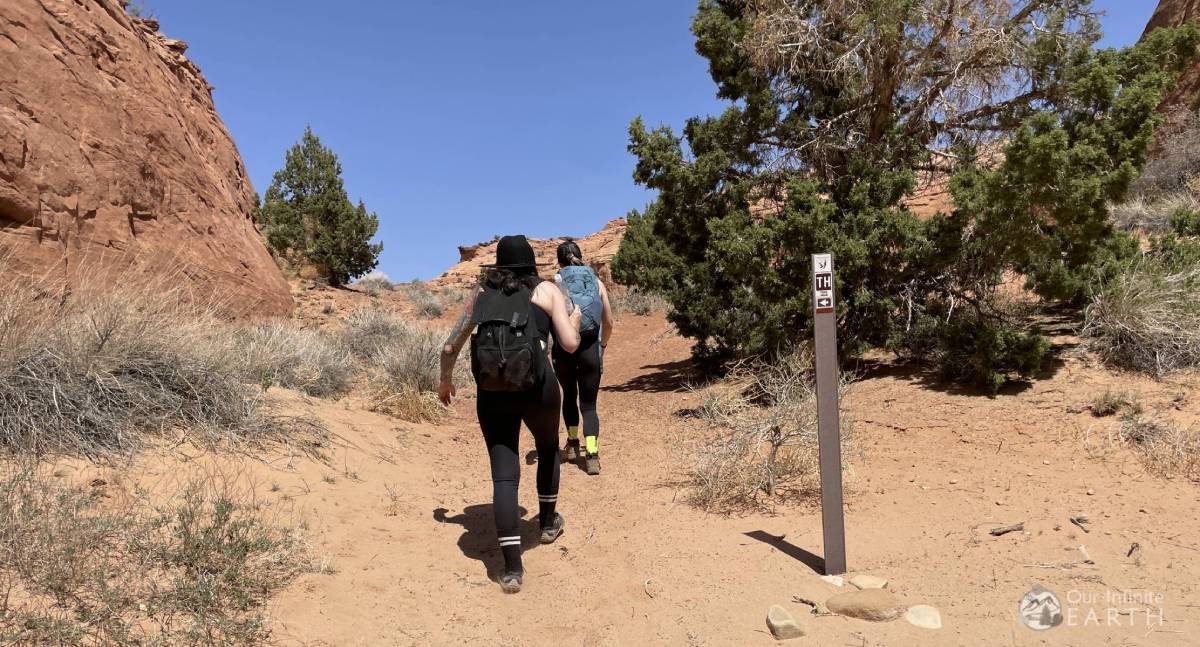
Once at the bottom of the gulch, you’ll come across this sign:

From here you can decide which gulch to visit first. If you’re doing Peekaboo and Spooky, start with Peekaboo first and follow the sign to it’s entrance. If you want to do Brimstone first, then head to the right (towards Spooky according to the sign).
Brimstone is a less well known and there’s no signs specifically for finding it (which also means lots less people visiting it too). Even if you decided not to do Peekaboo or Spooky, the trail to Brimstone (taking a right at the sign) goes right past the exit of Spooky. From the sign to the exit of Spooky is about .7mi.
Here’s how to get the rest of the way from the exit of Spooky Gulch:
After exiting Spooky, bear to the left at the wash (rather than right which would take you back to the trailhead and sign above). If you’re heading straight to Brimstone first, you’ll pass the exit of Spooky on your left as you continue up the wash.
This is a wide wash with short canyon walls. After about 1/8th of a mi, the walls will start to narrow and provide so much needed shade. You’ll be met with a boulder jam, and at least in our cast, a TON of tumbleweeds. The winds in the canyons blow all of the tumbleweeds into the jam and they have nowhere to go.
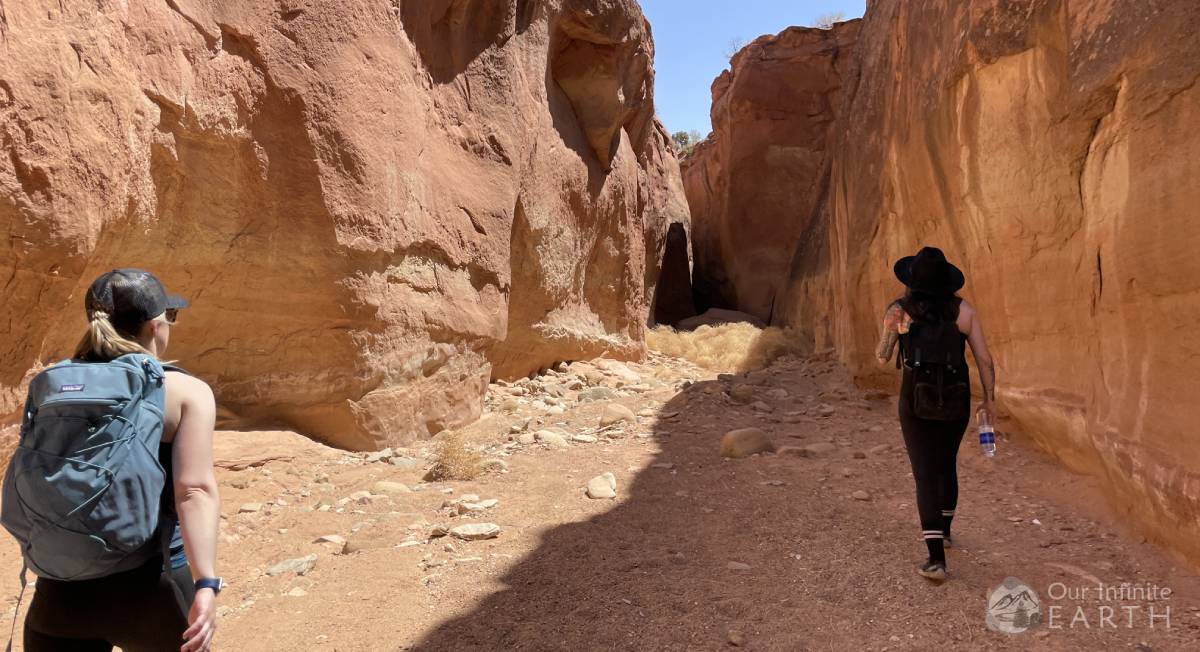
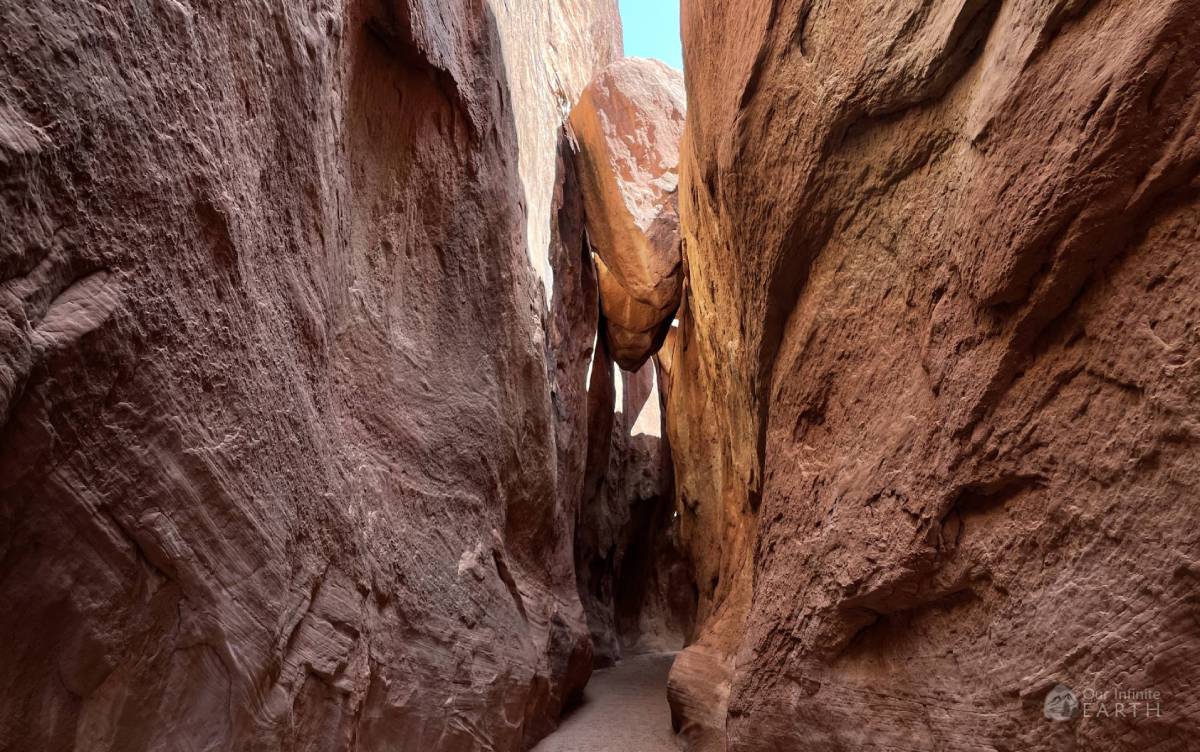
You can easily make your way through the jam on the left side of the boulders. (If you’ve already done Peekaboo and Spooky, you’ve done much tougher stuff than this already!) After the jam, the canyon walls are now higher as you’re deeper and continue to narrow. This narrow section will last for roughly another 1/8th of a mi. You’ll pass below three “arrow” shaped boulders that somehow got caught by the canyon walls above.
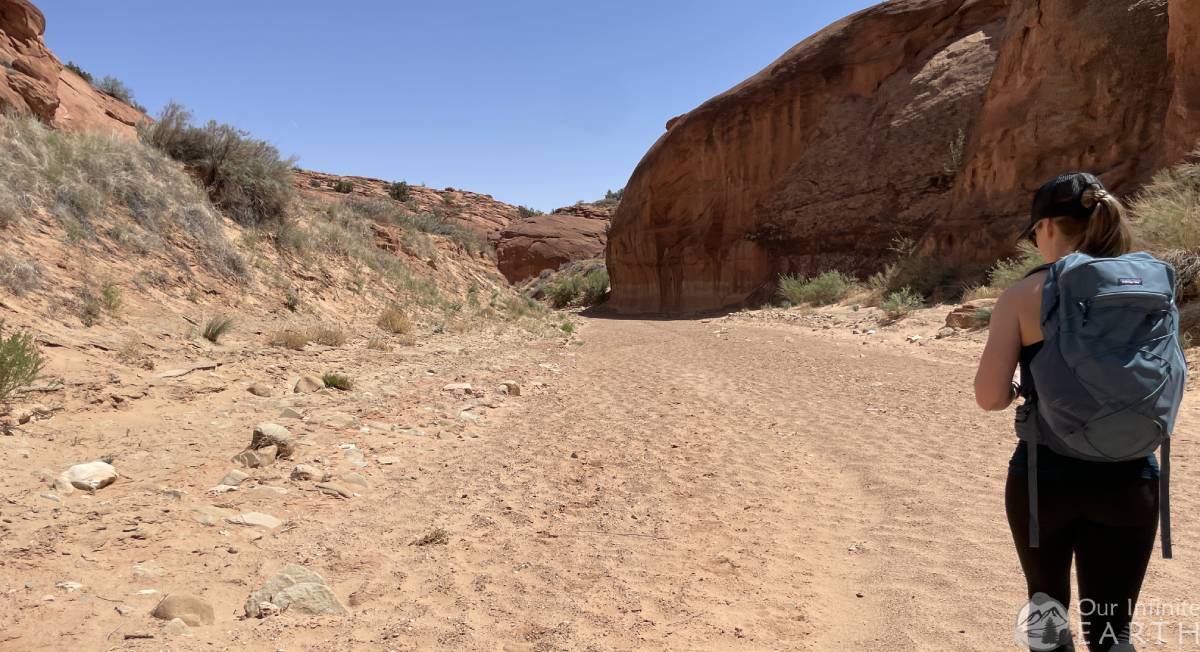
Shortly after the “arrows” the narrow walls will open up and you’ll be in another wash. There will be a large cottonwood tree directly in front of you and another on the right directly across the wash from the first one.
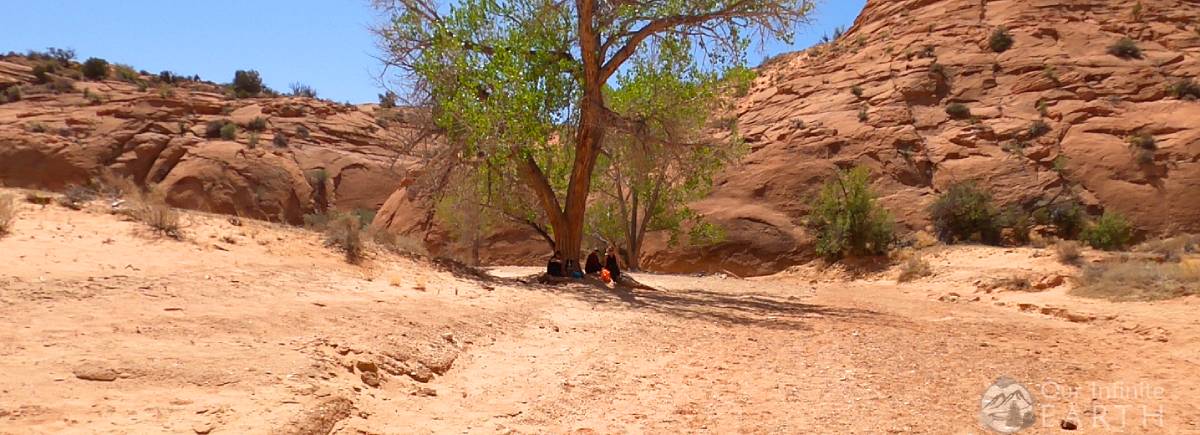
This is your signal to make a hard left. Don’t continue straight towards the tree through the wash. The wash is just going to wind around and add extra distance to this hike. Instead, as soon as the narrow walls widen, take a left at this exit and go up and over the meander (you should see a hiker foot path).
By meander, I mean the land/sand areas that the wash winds around. I’ve heard these called several different things, so just to clarify – with this next section, you’re trying to walk to your destination as straightly as possible rather than winding through the wash. You could totally just follow the wash as it winds around, but it’s just gonna add more distance to your hike, probably in the hot sun. So rather than that, you’re going to go up and over the meanders.
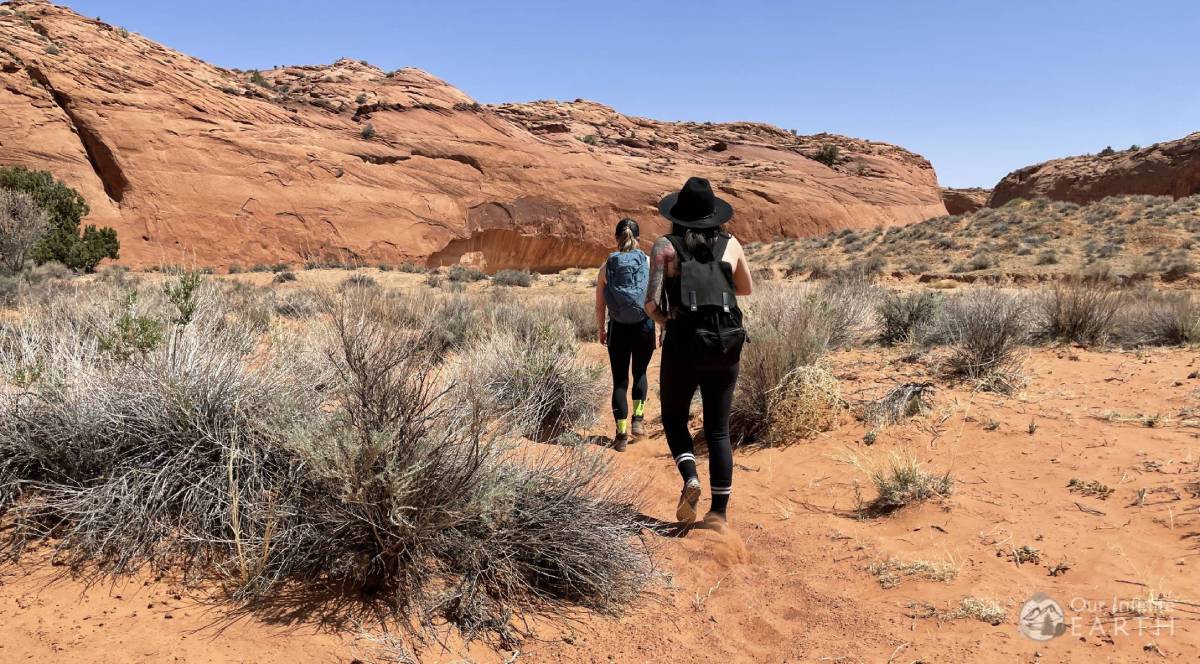
Shortly after the third meander, on the left, is going to be the entrance to Brimstone Gulch. This is about .25mi from the exit of the narrow “arrow” canyon (if you used the meanders rather than winding through the wash).
Then entrance is not narrow (there are several narrow canyon-esk looking cracks/entrances along the walls as you’re crossing the meanders) as the beginning of Brimstone is not narrow. It’s a wide break in the canyon walls and is marked with another cottonwood tree. There was also a TH sign pointing back to the main trailhead right at this turn off when we visited.
If you miss this, don’t worry, there’s another larger entrance shortly, again on the left. Basically, whenever you see an opportunity to take a left into another big gulch, take it as that’s probably the entrance to Brimstone.
Once you’re in Brimstone, head to the left, further up into the gulch. Very soon after entering Brimstone there will be a large sand dune on your left.
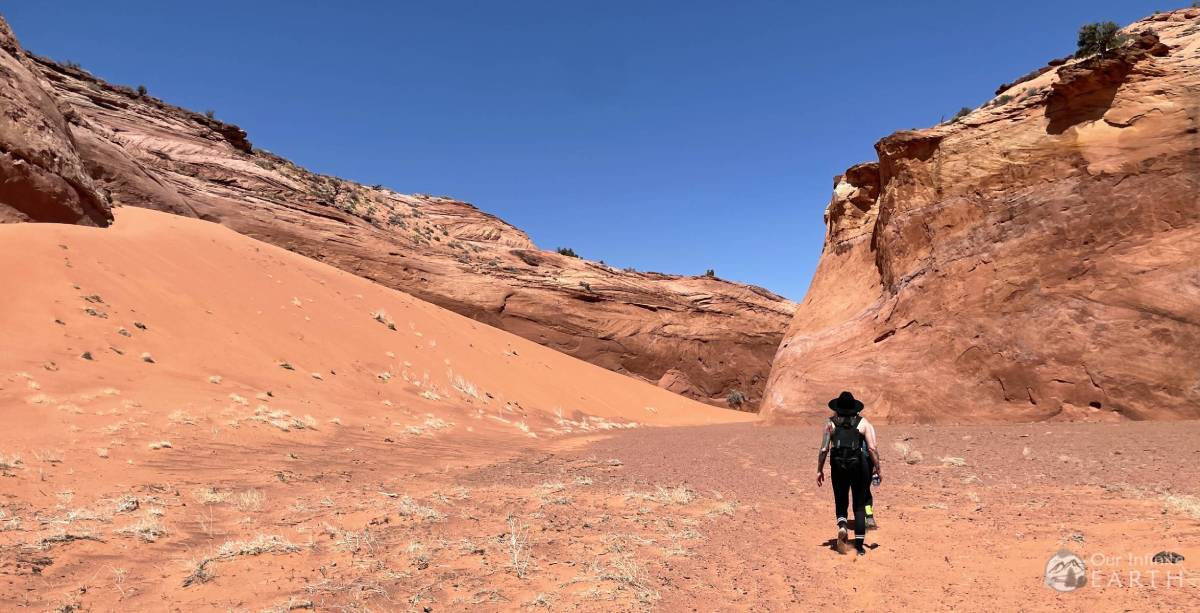
The walls of the gulch here are taller but will continue to remain very wide for the majority of this trek. As you continue into the gulch, you’ll be crossing several more meanders and walking through heavy sand.
After the entrance into Brimstone it’s another .6mi until you get to the narrow/slot canyon section.
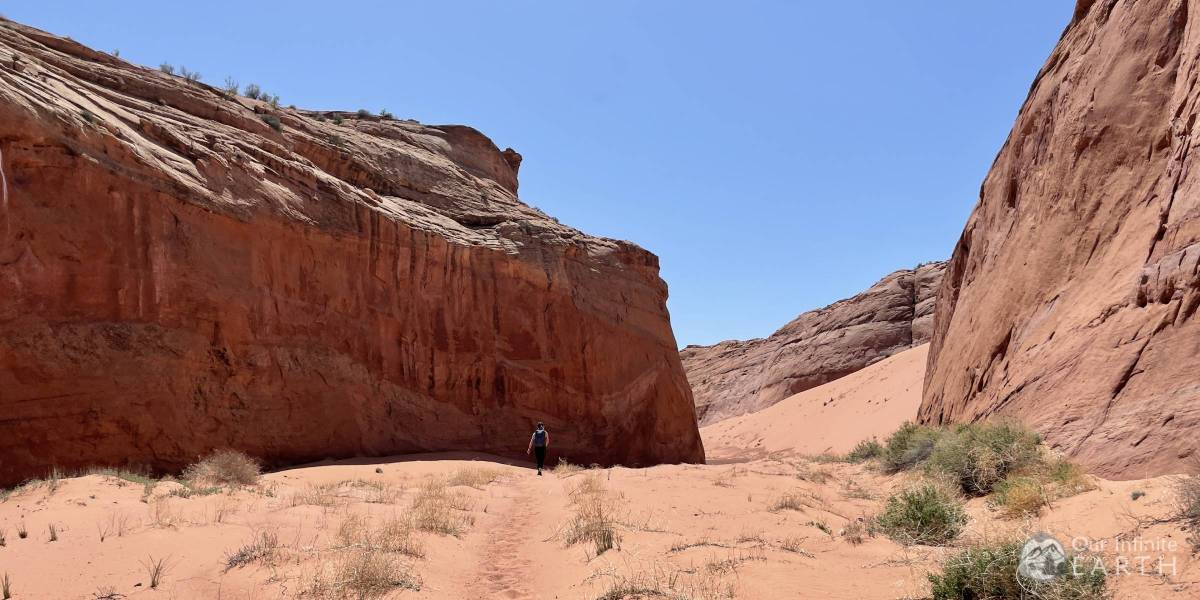
This is not easy and probably the most “I’m in the middle of the f’in desert in the middle of nowhere” hikes I’ve ever done. It’s very isolated – no more hiker trail, we only saw foot prints from one other hiker who had gone this way. It’s very exposed and there is no water.
If you’re not prepared, you could get into very real trouble out here and no one is going to find you. Even with all of the hiking and backpacking we do, trying to get away from crowds, there’s always a good chance that someone will be coming past the area we’re in in a day or two if something goes wrong. I didn’t feel that way here at all – it felt completely remote and isolated, which was peaceful, but also made me very aware of how careful we needed to be here.
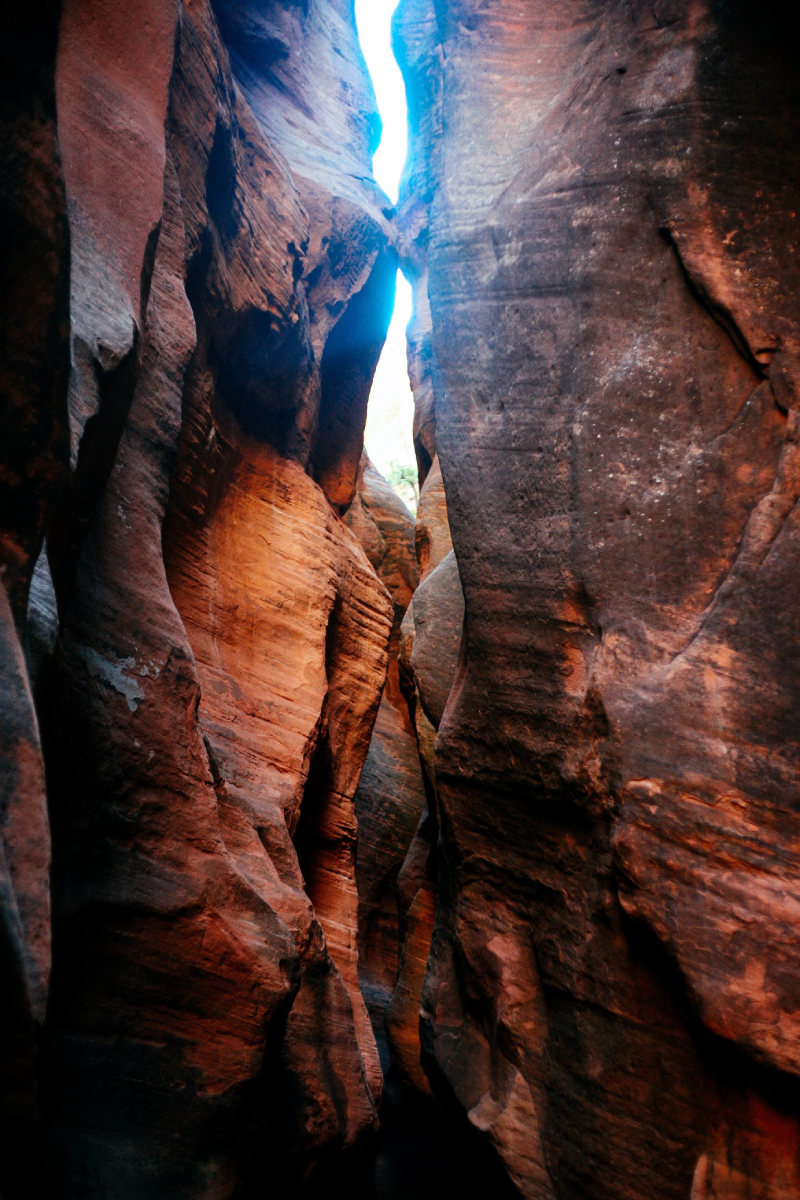
After the .7mi, all of a sudden, the canyon walls narrow and you’re now in the slot canyon portion of the trail.
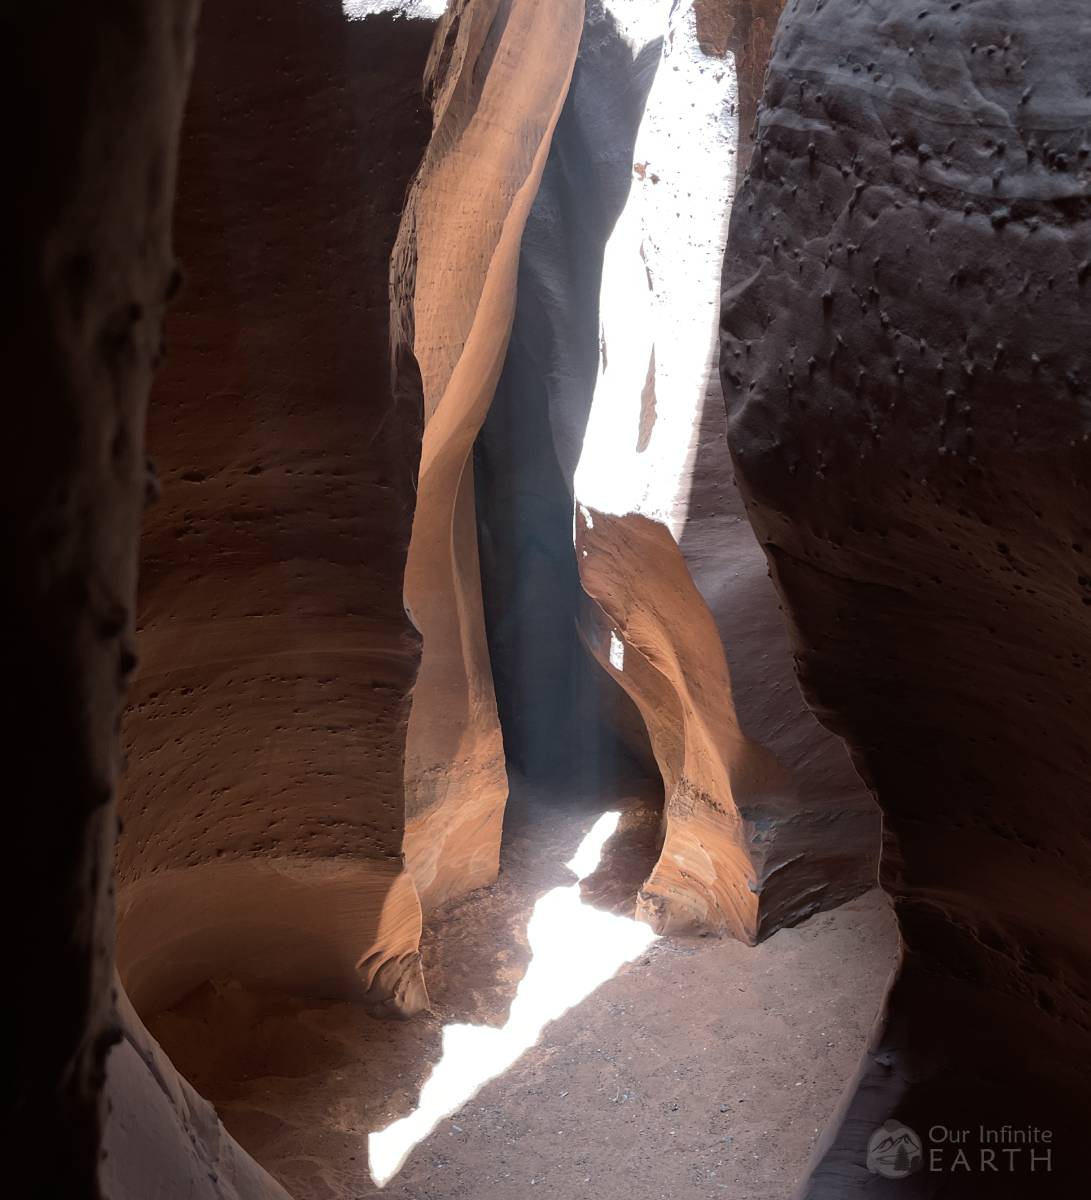
The walls will open wide again before then again narrowing into an even longer and narrower section. If it’s rained at all recently, you may find some muddy pools in this section.
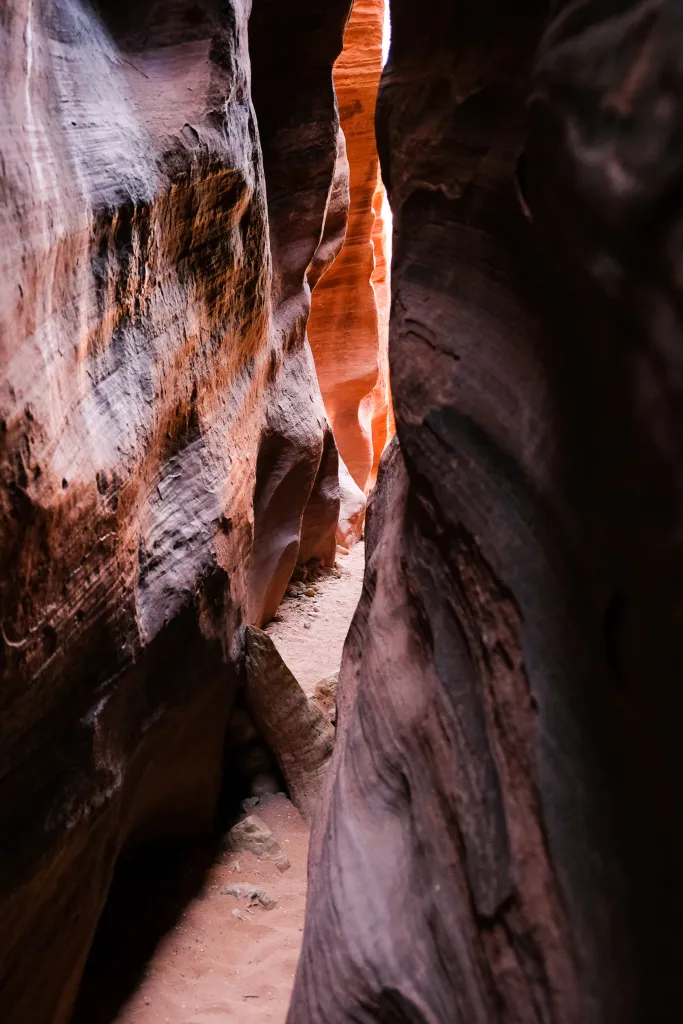
Over the next roughly .25-.33mi, the walls will continue to get more and more narrow. Going from 2-3feet to just 6inches. Eventually, you’ll have to turn around and go back the way you came as the gulch will become impassible.